
Creating Packages In Sitecore Part - 2
Published date: 06/06/2025
Hello guys, welcome to this second part of "Creating packages in Sitecore" series.
If you haven't gone through first part then I highly recommend you to go through the first part first from here as the article in this series are connected to each other and any terms / options / tools can confuse you which have already been explained earlier.
Now let's begin this article:
In the previous article, we learnt creating packages through selecting items statically. In this article, we'll learn how to select Sitecore files with a similar approach as previous one that is creating packages by adding files statically.
But before that, why creating packages of files? and what files? and where these files come from?
Let me answer the above questions backwardly -
- These files come from your Sitecore instance.
- The file can be any file located in your Sitecore instance. e.g., DLLs, text files, config files, etc.
- We create packages of the files as required to move a copy of it to another same versioned Sitecore instance on different location where these files are missing. These files can be a custom file also, a part of your development.
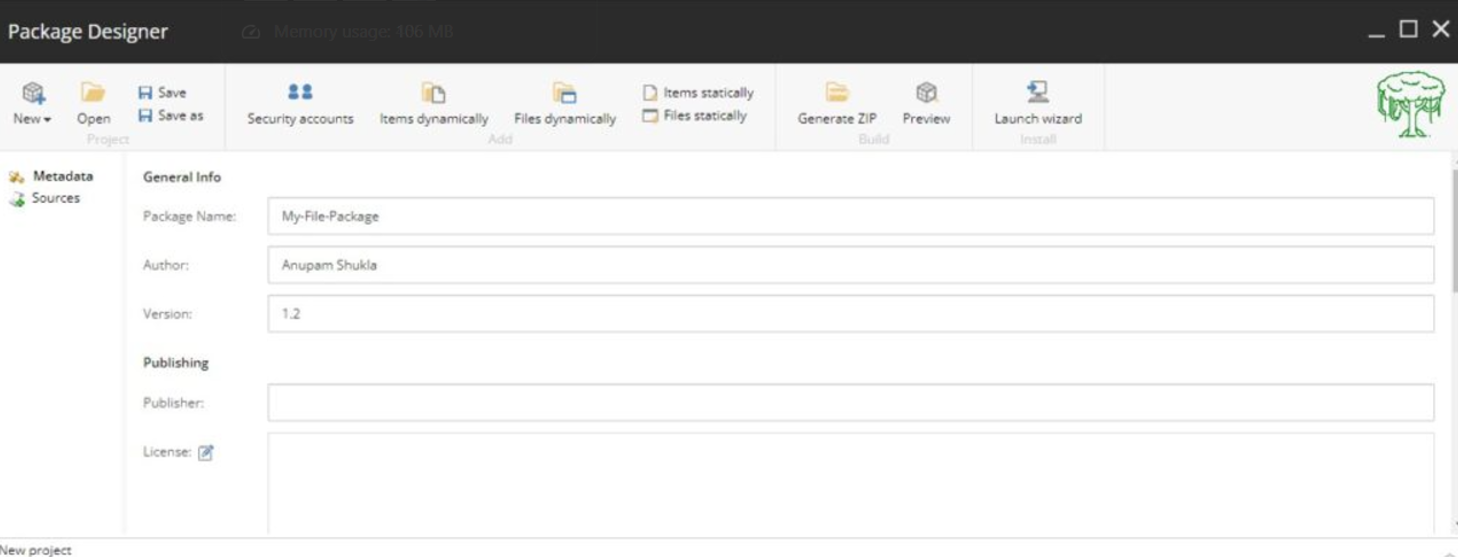
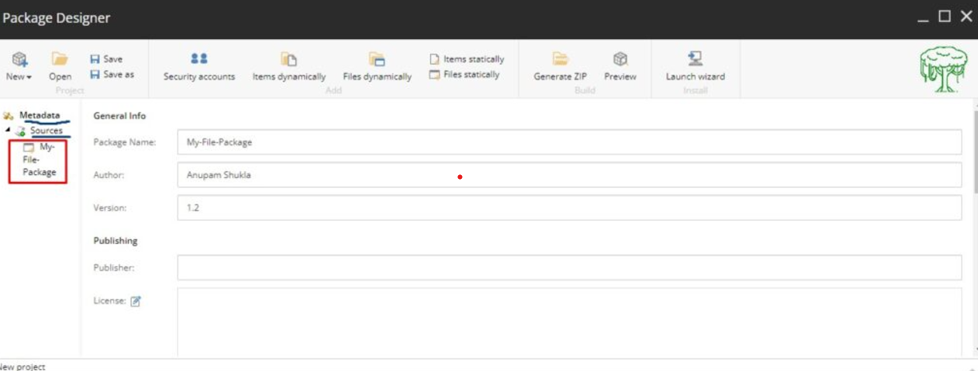
- So quickly login to your Sitecore instance, open package designer window and fill top three details in general info as below.
You can have your own info as well.
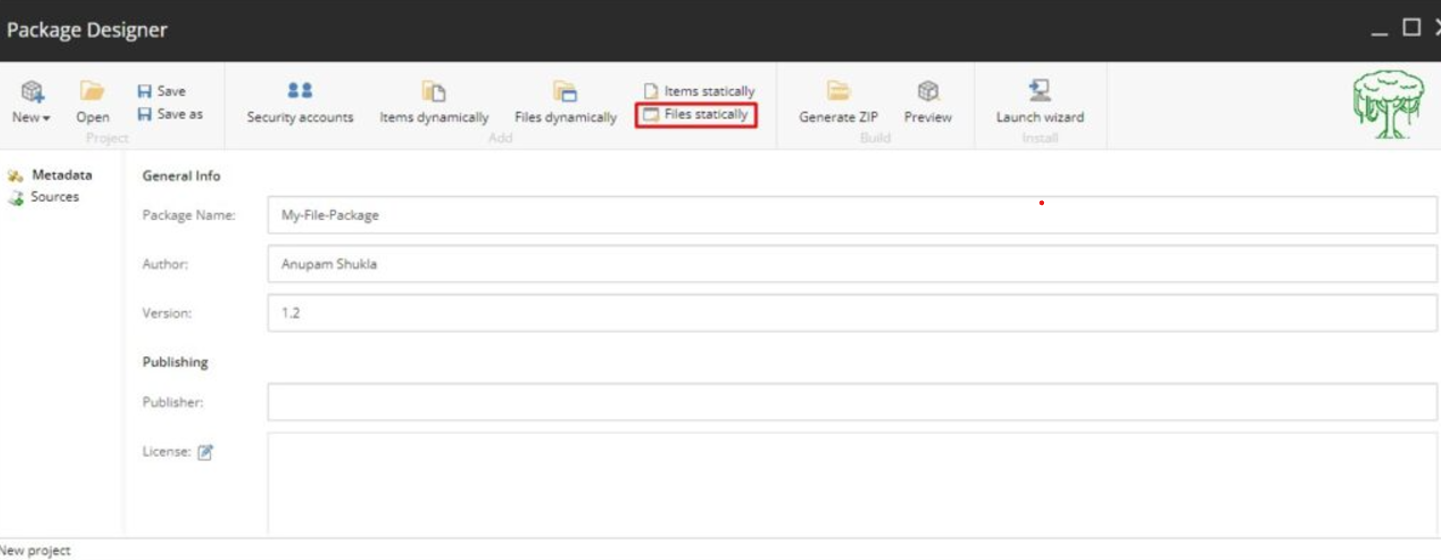
- Click on File Statically below Items Statically.
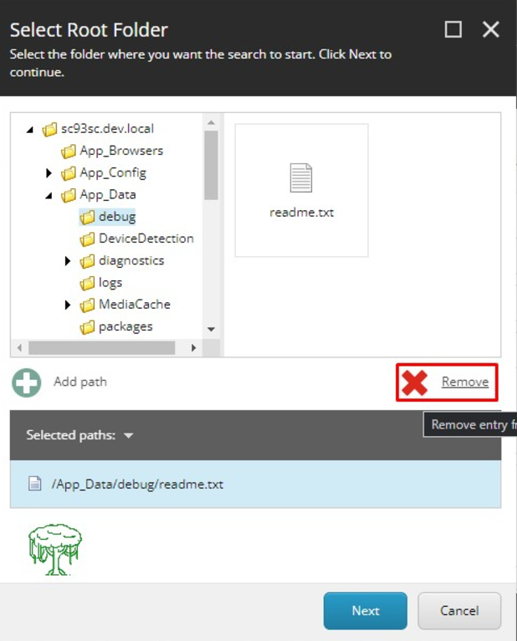
- Browse the file on the left pane and select the file on the right pane then click on Add path to add the file path into your list.

- Likewise, to remove a file from selected list you can select any file from the selected list and then click on remove. That file then won't be included in your package.
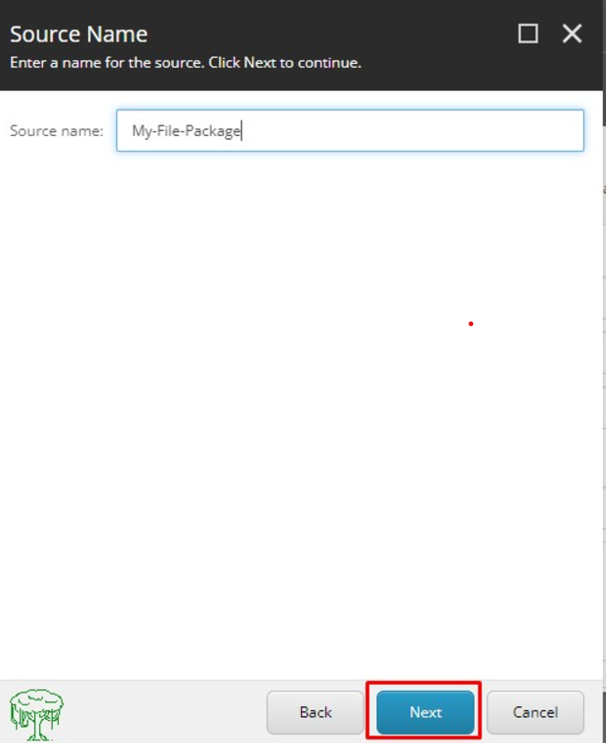
- Click on Next and provide a source name to it.
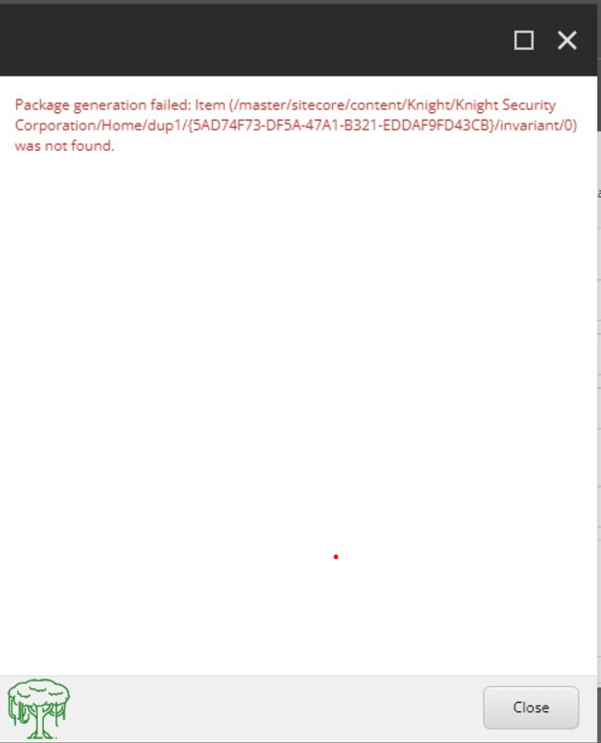
- Click on Next again and you'll see below message. Close it.

- You can preview the selected items by clicking on Preview in Build section and then Lookup.
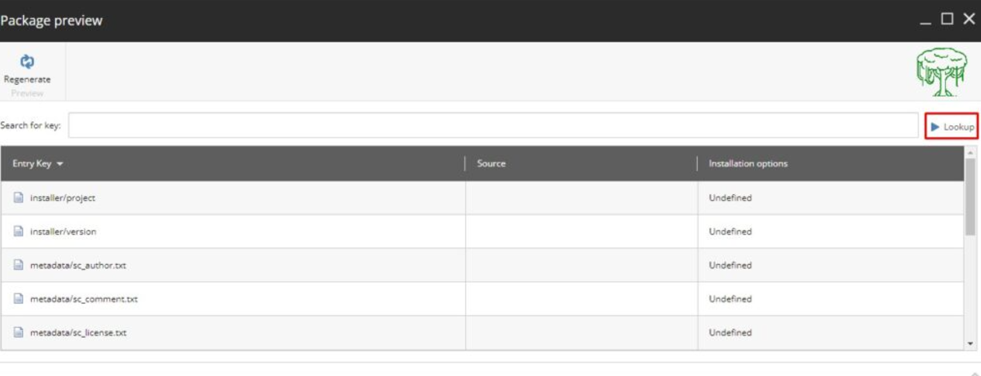
- You can also use search field to search items using keys as explained in Creating packages in Sitecore part - 1.
- Now as your XML file is ready, you can save it from the Save button at the top in Project section.
- To create a zip file of the selected files, all the steps are same that has been explained in the first article of "Creating Package in Sitecore" and will remain same throughout the series.
Now let’s explain another new option/tool in Sitecore Package Designer Window.
Observe the window in which we have just added a file. Focus on the left hand side..
- If you click on Metadata, nothing will happen.
- If you click on Sources, it just hides the below items.
- And when you click on items under Sources, something happens :O, another window opens up!!!
Let's see what this window is all about.
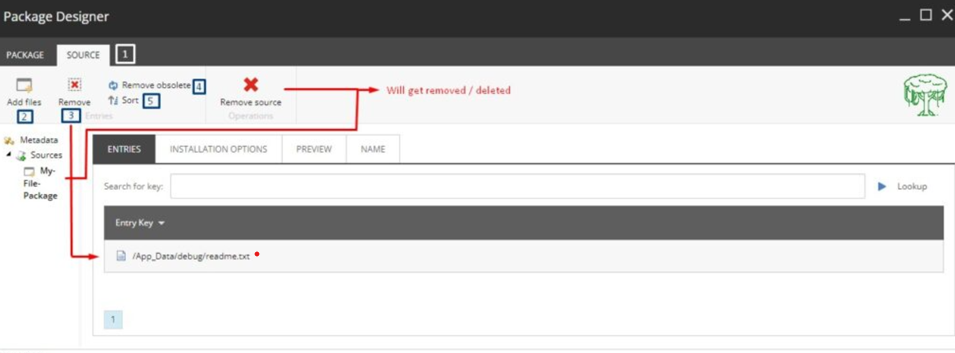
I have added numbers in front of options on the above image. Let’s understand each number one by one.
- A new tab named 'Sources' is added parallel to 'Package' tab. Through this tab also you can add/remove/preview/delete/sort your package items/files.
- Add Files: From this option, you can add more files to your package as you have added earlier.
- Remove: As directed in the image, you can delete any selected file by just selecting the file and click on Remove.
- Remove obsolete: This option means that remove everything from the package which is obsolete/outdated.
e.g., Suppose you have created a package and saved its XML file. After that someone else had done some modification in the Sitecore items and deleted a file which is a part of your package, then when you came to create a package of that XML file, that deleted item but referenced in package will cause error while creating a zip file.
To prevent this error, we use this option to remove any file which is not in existence from the selected list. - Sort: This option will sort the selected item list in the package into alphabetical order.
Remove Source (Big Red Cross button): By clicking this button, your source that is all the selected files will be removed/deleted.
Now let’s see the inner tabs -
- Entries: It will show you the list of selected items/files in the package.
- Installation Options: In this tab, you'll see the options which may get essential while installing Sitecore package. There are three options - Overwrite, Skip and Ask User. On clicking any option, you'll see its description in the right-hand side box parallel to it.
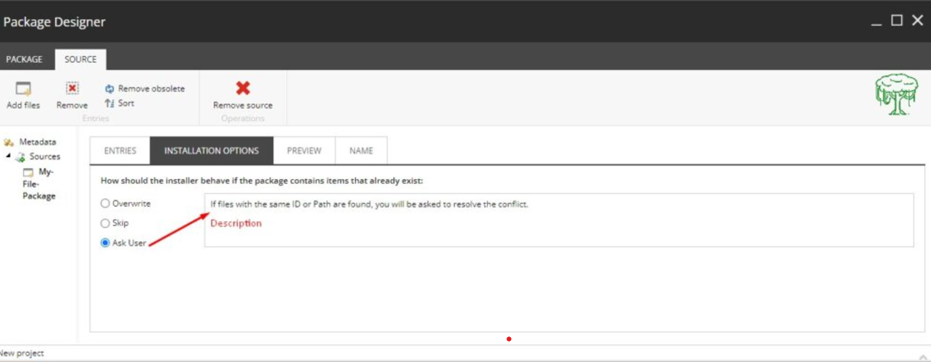
These options can also be pre-configured from here. - Preview: The preview tab will work as same as we discussed the preview option in the package designer window.
- Name: From this tab, you can change the source name of the package if you wish to.
If you want to go back to package designer window, click on package tab on top ribbon parallel to Source tab. You can also go back by clicking on Metadata above the source on left hand side.
So, in this article we have covered adding files to package statically and explored one new option in the Sitecore Package Designer.
In the next coming article, we'll explore some more options in Sitecore package designer window. Till then, stay healthy!
thanks,
Follow your passion.

All rights are reserved.